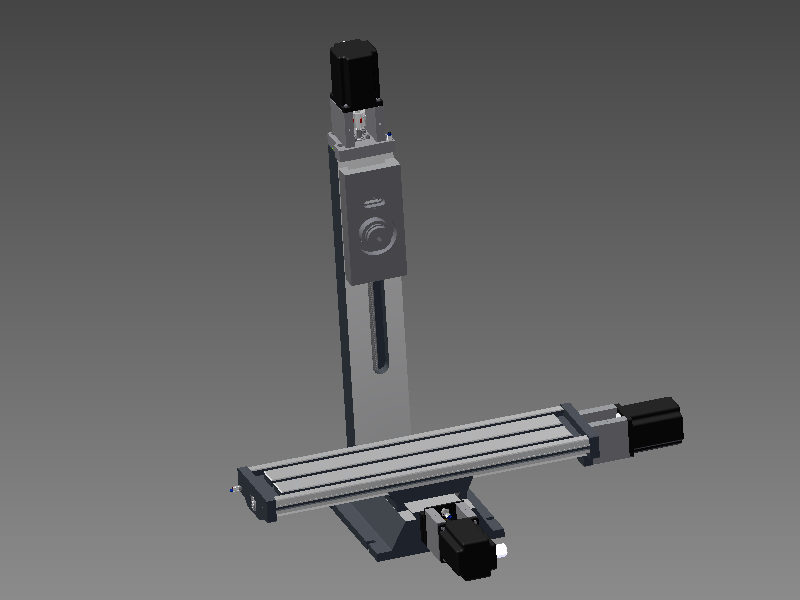
Last but not least the Optimum BF20L X axis conversion to CNC.
The X axis is the one that travels from left to right.. “The table”
First of all i mention this again:
Using the provided drawings and information is at your own risk.
I provide all this information for free so some credits would be great if you use them.
Any Forum, social media or YouTube refer is much appreciated.
The standard table of the BF20L is made for use of the TR / Acme thread.
The table ends are also not machined to use the new bearings either.
Conclusion is we need to make these our self’s.
Making these out of aluminum 6061T6 using the following drawings:

Download these drawings : X Axis
On the left side (X- or X0) we are only going to support the lead-screw for radial forces.
I will call this the loose bearing side, as the leadscrew can freely slide in and out of this bearing.
It is important to do so on one side because the shaft/screw can expand if it gets warmer.
If it could not expand in length it would start to bend, and wobble.
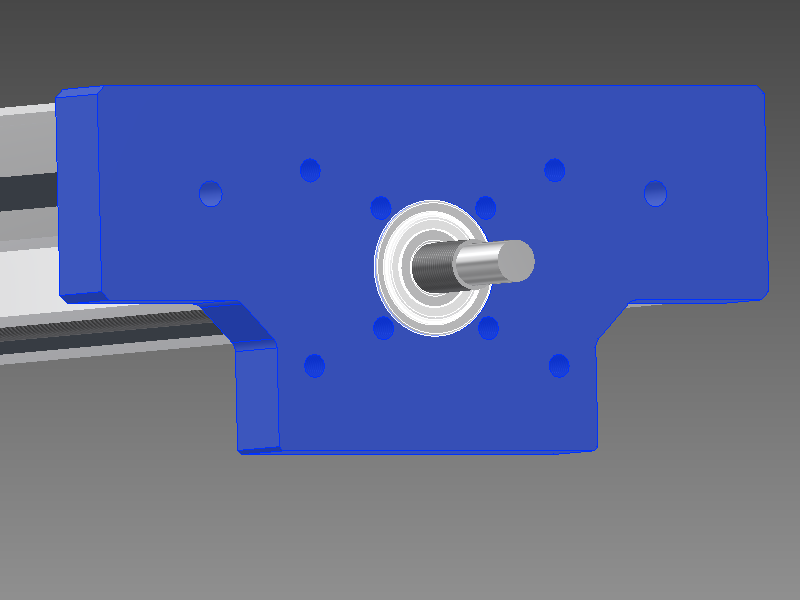
The X+ side we will use a double row angular contact bearing.
This one will support the radial forces, but will be used as a thrust bearing also.
The X+ side also has the bolt pattern to fit the DamenCNC Nema34 stepper mounting plates.
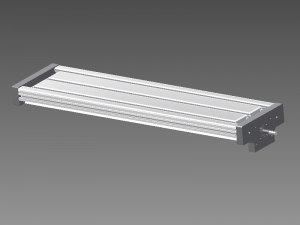
Below we can see the table sides / bearings mounted on the table / machining bed.
The 4 holes around the bearing are tapped for bolts to secure the bearings in place
Used bearings:
One 3201/5201ZZ 12x32x15.9 (Double row angular contact bearing)
One 6201ZZ 12x32x10mm (Groove Ball Bearing)


The leadscrew used is again RM1605 (found on Ebay : Linearmotionbearings2008)
I will now provide a drawing for all three leadscrews in ones.
When you order these make sure you buy 2 locknuts per screw.
It’s always smart to purchase some extra balls and nut replacement tubes.

Drawings : Ballscrew
Note: a small mistake is found in the pdf file. The thread should be 20mm (as in the jpeg)
The lock nuts as described above have small lock screws to secure them on the thread.
Besides the fact i do not trust this way of securing the nut, it can also ruin the thread on the shaft.
Therefor i do recommend to order two per shaft, and lock them like in the image below.
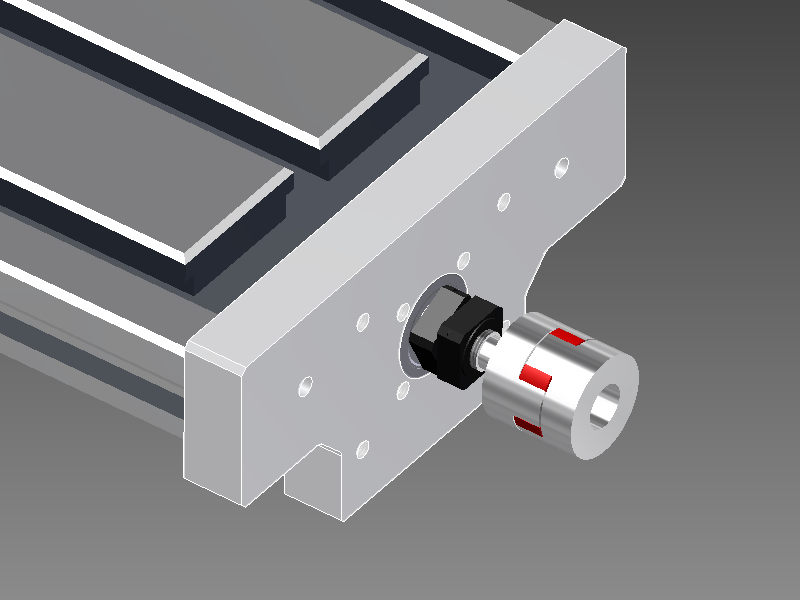
The Nema 34 stepper mounts I use are a very rigid way to place the big steppers.
Of course you can also make something yourself to reduce the cost, but do not use 4 standoffs.
I know from personal experience that this will give you torsion trouble, i see this around very often.
Order: Two Nema 34 Stepper Mounts Nema34Mount
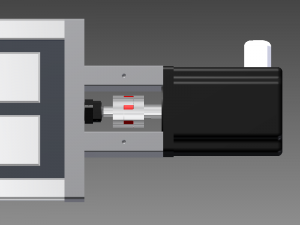
On the right we see the Nema 34 4,5Nm IP54 (water tight) stepper motor.
Most conversions are done with way smaller steppers, and most are driven by belt.
A machine that is used for milling metals, well i do not think belts are appropriate.
Yes these motors are more expensive, but come one think about it.
One Nema 34 4.0Nm Stepper motor: DCNC-IP54-4.0NM
One Zero Backlash Shaft Coupler DCNC-D32-L32
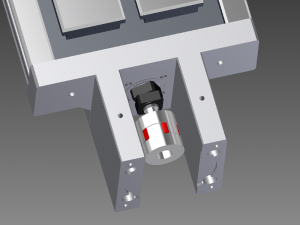
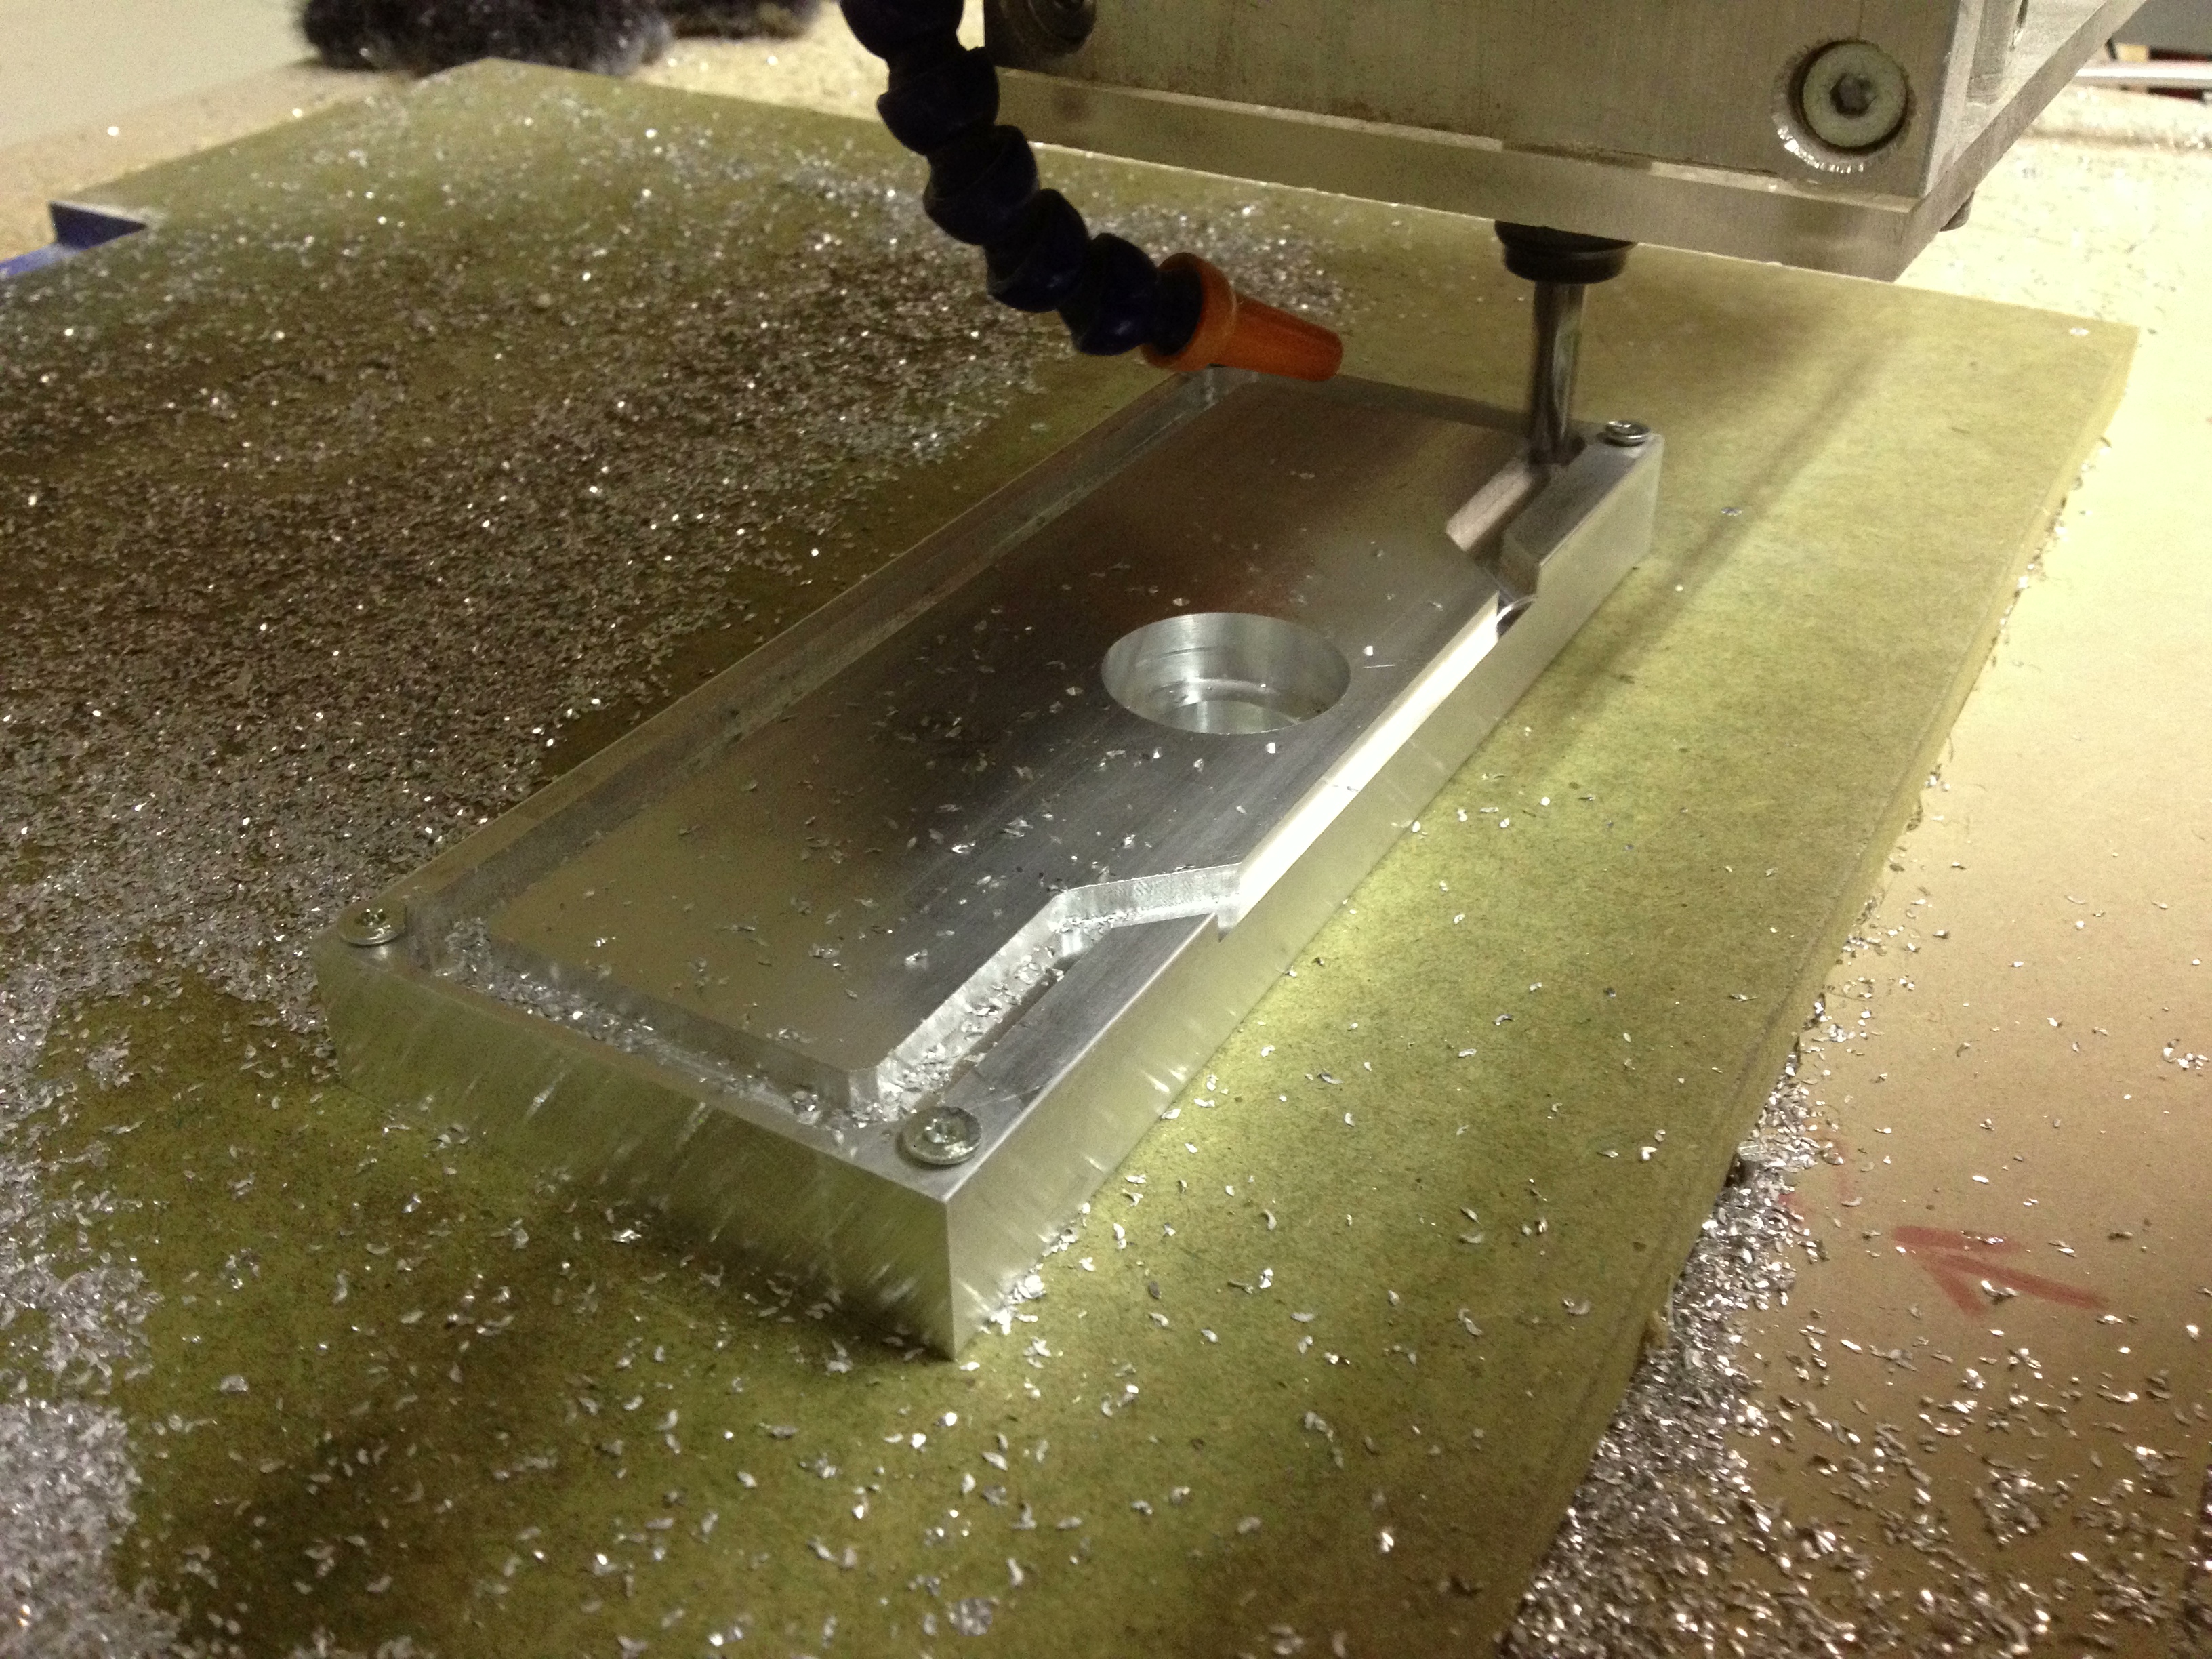
If we look at the three images below we see how all this has to come together.
The table / bed lays down on the saddle, with an adjusted gib (I will not do a tutorial on that).
And the ball-nut falls in to a square hole that was already in the saddle to begin with.
I know this hole is not present in all machines, but in mine it was, so otherwise you will have to machine it.
In the center image you can see that there is not enough space for the complete ball-nut.
So that needs to be modified to.


I have place the ball nut in the lathe to turn one side down as much as I could.
And i have removed the high spots (and paint) from the bottom of the machine bed.
Together this makes enough clearance for the lead-screw and its nut.


[youtube]5duG2BQOEJ8[/youtube]
Follow up on Facebook to sneak preview the movement !