Vectric PhotoVcarve is a great piece of software to turns your photographs into great CNC projects.
There are many different styles that can be used within this software package.
This time i will show how you can turn a photograph into a wooden relief.
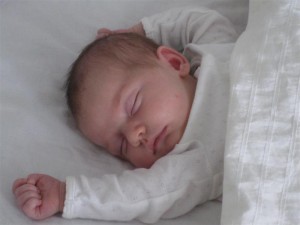
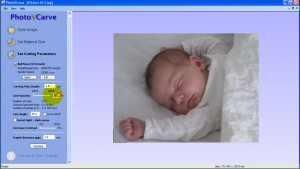
The first thing we need is a photograph, in this case its the pride of Dennis and Kika… Named Emilia…
(Isn’t she sweet… 🙂 )
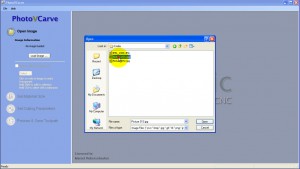
Most industry standard pixel based image file formats can be opened and used with PhotoVcarve.
(JPG, BMP, TIF, GIF, PNG)
Lets start of by loading the image into PhotoVcarve….
After loading the image you can decide to limit the toolpath to only cut inside specific regions.
This is done by interactively selecting colour’s in the image to be Transparent.
This can be very useful for removing unwanted background detail from a photograph.
More on this option in my next tutorial when i actually will use a V-Carve instead of a relief.
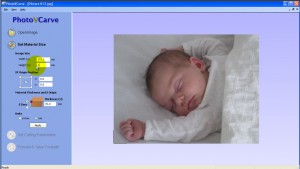
In the section ‘Set Material Size’ we can set all material settings.
Check the radio button to select Inches or Metric units.
Now you can set any x or y size where x will be the horizontal size, en y the vertical size.
You will only need to fill in one of them as the aspect ratio of the original file will be retained.
The Thickness Z holds the value of you material thickness
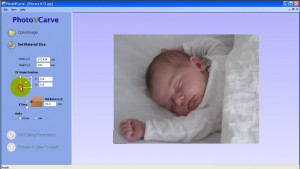
Now we have to decide where our carve Zero must be located.
First of all we want the Z=0 on top of the material, and from the we carve down in Z=negative direction.
To do this we select the top radio-button of Z zero.
With the radio-button square we can select corners, or center for the X and Y Zero.
But you can also use the text boxes to give the exact offset.
This can be very interesting if you use this carve inside a bigger project.
For now we click on the left bottom corner for easy of positioning the workpiece later-on.
So where is X=0, Y=0, Z=0 ? Yep… in the bottom left corner ‘on top’ of the material block (remember that one).
Click Apply and where of to section 3….
Section 3 is named ‘Set Cutting Parameters’ And this is the most important part.
First we have to know what type/style we want to achieve, in this case i want a relief of 2,5mm depth.
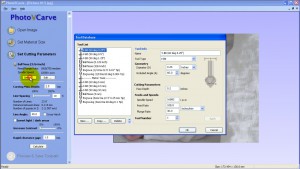
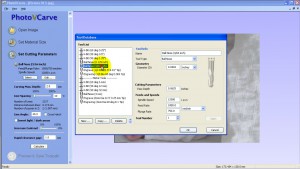
For a relief file i would want to use a ball-nose cutter, this will give the best and smooth relief result.
The smaller ball-nose you choose the finer the result, but machine time will take more also.
For this picture (170x130mm) i will use a 3/64″ ballnose, this will give a very fine result.
I’m only carving 2,5mm depth, so i will not use more then one tool (More on this when we do Lithophanes)
Within the tool selection screen you can change any feed to your needs, these where good for my machine.
You can also make new, or copy and change tools here…
Mean thing here : For a relief Photograph its best to choose a ‘small ball-nose’.
Oke we want a relief result of 2,5mm depth.
This means that the difference between the lightest part and the darkest part on the image will be 2,5mm depth.
So at first we set the ‘carving max depth’ setting on 2,5mm.
Now the line spacing, the slider tell’s you you can set anything between 100% and 200%…
But the text box on the side can be set to 10% if we want…. And yes we want that….
The ball-nose will carve this relief by carving a lot of lines.
The 10% means that the space between these lines will be 10% of the 3/64″ cutter.
10% or less will give the best result here.
Set the line angle to 45 degree’s,
this way the ball-nose mill will start in the right bottom corner and make a 45degree raster.
(This way the tool gets least of the load, more on that later on)
The check-boxes ‘Invert dark and light’, ‘Cross Hatch’ and the contrast slider can be left alone.
(Low quality photographs can be improved by enhancing the contrast to improve the machined results. )
Rapid clearance cap is set to 1, this way the rapid feeds will be done 1mm above the surface.
This must be a hight save of fixtures etc, but keep it low to keep machine time down.
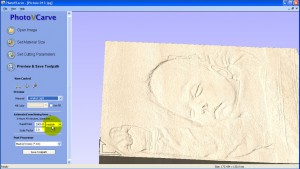
In the last section of PhotoVcarve we can preview the result. (
If you sell these products you can change material settings, color, rotate and zoom to make nice screenshots.
Set the rapid rate to something you desire, in my case its set to 2000mm/min.
This way you can make a estimated machine time, to decide the actual cost for your customer.
My machine rapids at speeds over 2000 but with with the rapid set to 2000 and the scale factor to 1
Vectric calculates a machine time of 1 hour and 53 minutes.
This project took me 1 Hour and 59 minutes with tool changes so these settings are great for my machine.
So the first time you will have to compare this, and in the future projects you will know the best settings
Select the post-processor you need, in my case the one for Mach3 and save the toolpath.
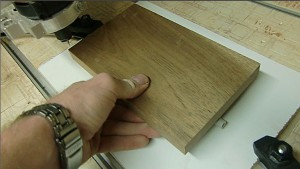
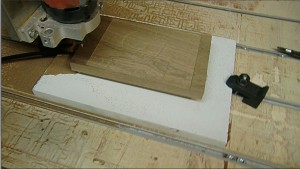
Load the G-code into Mach3, place the ball-nose on the bottom left corner and zero your DRO’s.
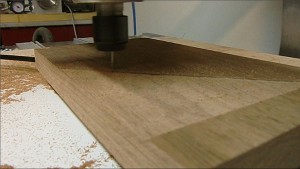
And start milling…… This will take some time… 2 Hours as calculated before…
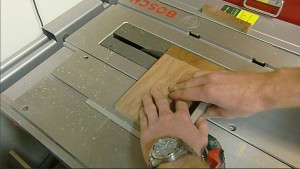
After the carving is done, you could use Vectric’s Cut2D to make a nice cut-out…
To bad Vectric did not sponsor me a version of Cut-2d (TIP) haha, so i will use the table saw…
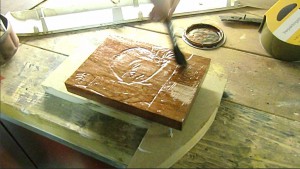
Using Wood-stain my girl (who does all the RoboCNC paint work..) paints the relief.
You can see that Emilia already appears in the wood…
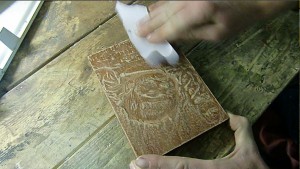
After a good night sleep its time to take some 150 grid sand paper, and make the ‘effect’.
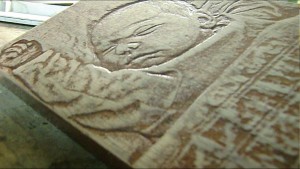
Vectric PhotoVcarve makes the dark area’s deep, and light area’s less deep.
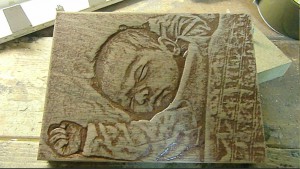
When using sandpaper we bring back this contrast effect, and the real Photograph appears…
Taadaaa…..
[youtube]https://www.youtube.com/watch?v=XIv8Wq-ywlI[/youtube]

