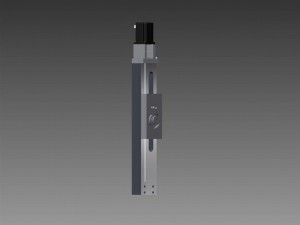
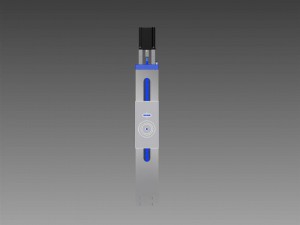
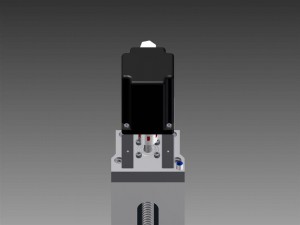
First stop ‘The Z-axis”…
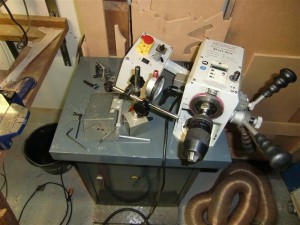
We bought a Optimum BF20 L as a conventional machine that needs to be converted to CNC.
There are a lot of options of driving the lead screws of all these axis.
Some say ‘Take of the hand-wheels and place some motors on them” (not our approach).
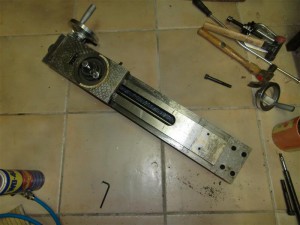
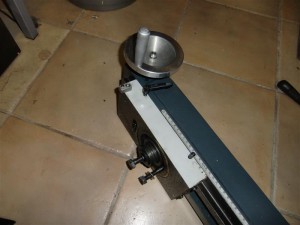
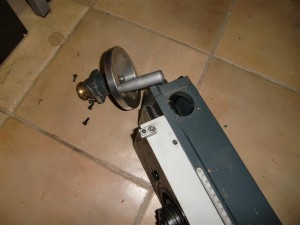
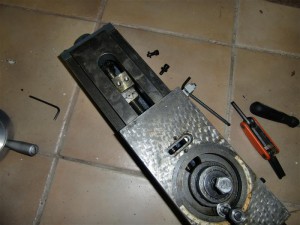
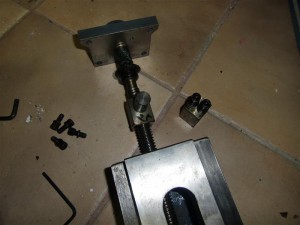
First we need to disassemble the Z-axis by completely taking the thing apart.
TIP: Making pictures of each step can help you later on.
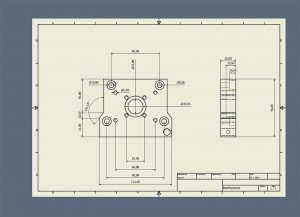
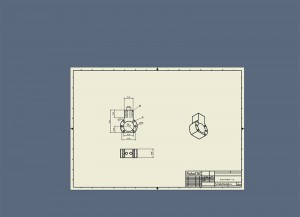
Now its time to start measuring and drawing everything in a CAD program.
Making machines or converting them starts out with drawings..
On the left we see an overview of what the Z-axis will become.
The blue parts in the middle are the parts we have to make for this axis.
All parts that are not blue can be purchased.
Looking at the right picture above I have used:
One Nema 34 4.0Nm Stepper motor: DCNC-IP54-4.0NM
One Zero Backlash Shaft Coupler DCNC-D32-L32
Two Nema 34 Stepper Mounts Nema34Mount
One 3202/5202-2RS 15x35x15.9 (Double row angular contact bearing)
One Inductive Switch Shielded 12NOC2A-S NPN
And a hand full of bolts… 😉
So thats the easy part… buying stuff…
The stepper motor drives the leadscrew through the zero backlash coupler.
I have chosen not to use the original one, but a RM2005 (found on Ebay : Linearmotionbearings2008)
This guy (Chai) can also machine the ends for you.
So Order the following :
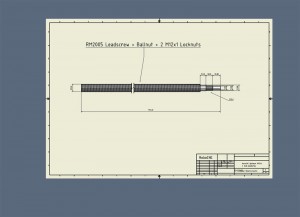
PDF Drawing : RM2005
Now its time for some actual machining.
Lets call the top part (Isolated in the left bottom image) the Bearinghouse.
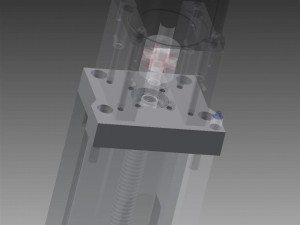
Drawings : Z-axis
The linear movement from the ballnut is transferred to the carriage through a bracket.
For now I’ll call this the ballnut bracket and can be found beneath.
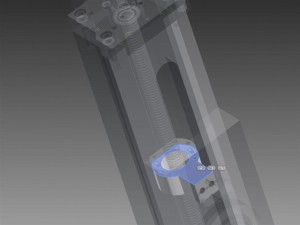
Drawings : Z-axis2
Milling and powder coating the parts :
Assembly of the Optimum BF20L Z-axis :
very nice!
Thanks Rod Java !
Thanks Rod Java !
Thanks Rod Java !
veramente un bel lavoro, complimenti!!!
Grazie mille Leonardo
Very Nice! What are your feeds and speeds on the aluminum? Also what kind of bit? Thanks!
Thanks noxnflames, My feeds and speeds are not something to write down, as this machine is way from perfect for machining aluminum. But here i have worked with 17krpm, 1000 or 1200mm/min, at 0,5mm depth. Bit is a 30* up-cut carbide 8mm 2 flute if i recall correctly.
what is the part for..?
It will be on top of the Z-axis of the Optimum BF20L. It holds the bearing, and is used to couple the leadscrew with the stepper. This will be shown in one of the next videos..
Great video. The powder coat process was interesting.
Thanks m8 :)…
Thanks m8 :)…
Thanks m8 :)…
This is very interresting! and seems to be quite easy for someone like me…! Where did you find the powder? Txs, and good job as usual! 😉
Hi Dex… This is easy indeed, and fast and extremely durable. This power came from powderbuythepound. Thank Dex !
Hey, love your videos! What software are you using to generate the tool paths? I’m having a hard time finding any decent free or inexpensive CAM software. Thanks
Hi Devin, this is one of the first questions that i can not answer im afraid.’ I do not recommend software… and don’t know any free or inexpensive CAM package to check out..
Man that looks real good!! i didnt know u could do this stuff aswell.. awesome! Jacques
Thanks Jacques… Ya we are full of secrets 🙂 Thanks for the nice comment my friend..
Just great vid again. Could you tell me, where to buy this kind of coating gun and powder? Thanks.
Thanks m8… This powercoat system came from ‘coating4all’ (local company.) But Ebay, and ‘powderbuythepound’ would have similar sets i think.
Looks good 🙂
looking snug! Robo 🙂
Thanks mate… ! It’s first movement.. (somehow always starting at the Z)
Thanks Jacques… !
Thanks Jacques… !
Thanks Jacques… !
?????!!!
? ???????.
???????!
???????!
???????!
Looking good, do you have a update?
busy busy busy… I have to find some time to post more info and video’s.. But check FaceBook, to see where we are at…. Thanks !
Frist of all….your job is incredible ….congratulations
Secondly …I really loved your painting
I am a fan of you….so ….thumbs up for you
be good
Lobo
Thanks Lobo !
Mooi gedaan en bedankt voor je duidelijke uitleg !
Very nice. Paint came out great.Cheers,Tom
Wat leuk zeg, overigens dat die vonk kwam is vaak een teken van slechte verbinding van het materiaal aan de draad die je er boven hebt hangen even kort gezegd.Heb dit een jaar gedaan in een spuiterij maar er is weinig aan moet ik zeggen toch erg leuk dat je dit thuis doet ;)Alleen hoor je hem niet eerst op te warmen en te spuiten, al kan het wel maar is er meer kans op zakkers/druppels en dikke randen.En geduld heb je inderdaad 😉
hello – if possible receiving Bearinghouse in dxf format – greetings Jack.
Hi Jack,
There was already a download link with the original files that can be converted to dxf.
But as a one time offer 🙂 : https://www.filedropper.com/bearinghouse
Good luck Jack.. best regards
Heel netjes gedaan.
hello, good job. but a lot of measures are missing. could you please send me or add DXF files of Z-Axis like others?
many thank’s, and very good job.
giovanni
Please state which part or file you are referring to.
In the Z-axis are two rar downloads, did you download these?
hi , thank you for your fst reply!
yes, i download both.
i mean the aluminium plate of Z axis. for nut house all ok, already done.
there is missing distance between border of ball bearing and others.
if you provide a dxf of this plate i can take it myself.
Giovanni
Think I found it.. New file is linked to the Z-axis bearing house, including DXF now.
many thank’s!
really apreciated . you are a gentleman! 🙂
have nice day,
Giovanni!
Very nice! But I think you forgot to write the position of the Z axis bearinghouse center.
Hi Luca,
You are absolutely right… (Although you can also download the .rar package and check the dxf)
But here are the measurements for the bearing placement:
It is centered in the X direction (so 60mm from the left or right side).
In the Y direction it measures 45,55mm from the back, and 50,45mm from the front.
The 4 threaded holes to mount the stepper spacers are centered around the bearing.
Hope this helps..
Best Regards, Marcel
Thanks for sharing all this info!
i look forward to build mine!
Regards
No thank, and good luck !
Hello,
First of all, thank you for your work and your help witch is realy fantastic.
I plain to convert my WARCO WM18 wich is very similar to the BF20.
What material did you use to realise the ballnut brackets (Y and Z axes). Steel or aluminium ?
Thank you by advance for your response.
Alain.
I Used Aluminum…